
Ever taken a photo of a stunning sunset or an epic mountain view only to realize later that it’s blurry and out of focus? It's a bummer, right?
You’re not alone—both newbies and seasoned photographers experience this all the time. But here's the good news: a tripod can be a game-changer. It’s like having an extra set of steady hands to keep your camera rock solid.
In this guide, we're diving deep into the world of tripods, showing you how to use one like a pro so your photos come out sharp, steady, and oh-so-professional.
Getting the hang of using a tripod isn’t just about knowing how to set it up. It’s about squeezing every bit of potential out of it to make your photos look amazing. Whether you’re snapping sweeping landscapes, getting up close with macro shots, or capturing long-exposure night scenes, a tripod can be your trusty sidekick.
This blog is here to arm you with all the tips and tricks you need to master tripod use, from the basics to advanced techniques. Ready to up your photography game? Let’s get started!
Let's explore the world of tripods and unlock the secrets to achieving perfect, blur-free images.
Choosing the Right Tripod

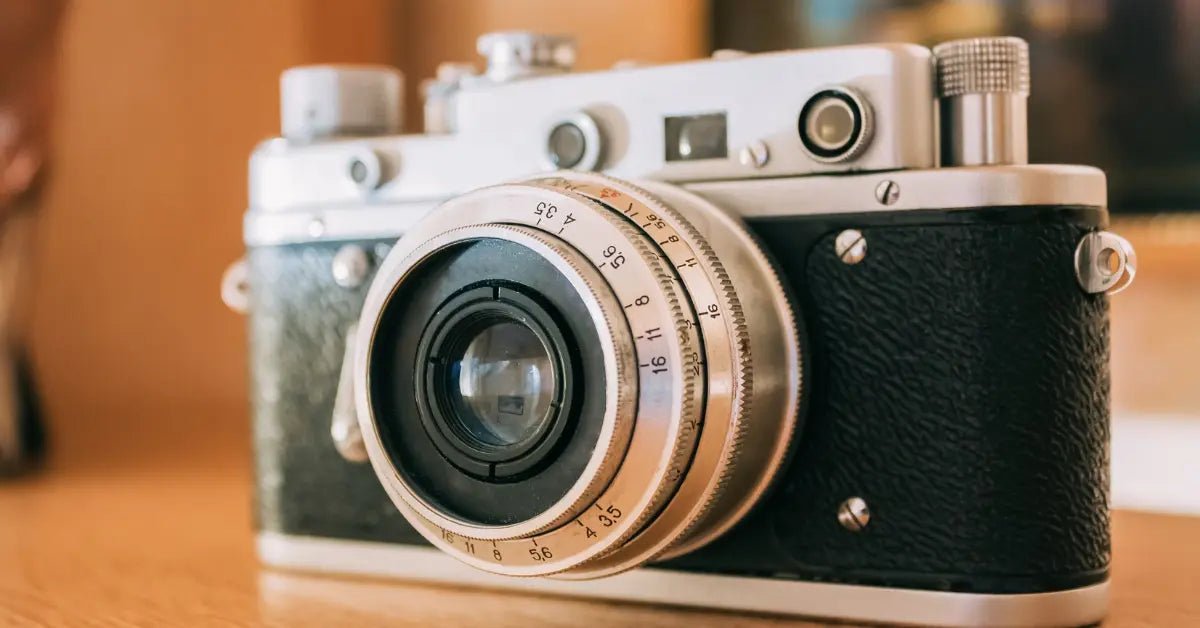
Before we get into the nitty-gritty of using a tripod, let's talk about picking the right one. Think of a tripod as your camera's best buddy—it needs to match your style and needs perfectly. Tripods come in all shapes, sizes, and materials, and choosing the right one can make a world of difference in your photography.
Types of Tripods:
- Compact Tripods: These are great for travel because they're lightweight and easy to carry around. Perfect for those spontaneous shots on the go.
- Studio Tripods: These are the heavy-duty ones, offering maximum stability for studio photography. They're a bit bulky but worth it for that rock-solid support.
- Monopods: Imagine a tripod with just one leg. Monopods provide some stability while being super portable. They're great for quick shots and when you're on the move.
- Gorilla Pods: These quirky tripods have bendable legs, making them perfect for uneven surfaces and creative angles. They're fun and versatile, ideal for adventurous photographers.
Materials:
- Aluminum: Durable and affordable, aluminum tripods are good for general use. They're sturdy and can handle a bit of rough handling.
- Carbon Fiber: Lightweight and strong, these are great for outdoor and travel photography. They're a bit pricier but worth it if you need to carry your gear around a lot.
- Steel: Super sturdy but quite heavy, steel tripods are best for studio setups where you don't need to move them around much.
When choosing a tripod, think about the weight of your camera, the type of photography you do, and the places you'll be shooting. If you’re into travel photography, a lightweight, compact tripod will be your best friend.
For studio work, you’ll want something sturdier with more features. Matching your tripod to your needs ensures you get the most out of it and makes your photography experience much smoother.
Setting Up Your Tripod

Setting up a tripod correctly is the first step towards capturing sharp, professional-quality images. Here’s a detailed guide on how to set up a tripod:
Extend the Legs:
- Start by extending the legs from the bottom sections first. This ensures maximum stability.
- Adjust the length of each leg to level the tripod, especially on uneven terrain.
Lock the Legs:
- Secure the leg locks to prevent any movement. Test each leg to ensure it’s firmly locked.
Attach the Camera:
- Use the quick-release plate to attach your camera to the tripod head. Ensure it’s securely fastened to prevent any accidents.
Adjust the Height:
- Extend the center column only if necessary, as this can reduce stability. Aim to keep the center column as low as possible.
Level the Tripod:
- Use the built-in bubble level to ensure your tripod is perfectly horizontal. This is crucial for landscape and architectural photography.
Pro Tip: Always carry a small spirit level if your tripod doesn’t have a built-in one. This helps in achieving perfectly level shots.
Using the Tripod for Different Photography Styles

Different photography styles call for different tripod techniques. Let’s dive into how you can make the most of your tripod for various types of photography:
Landscape Photography
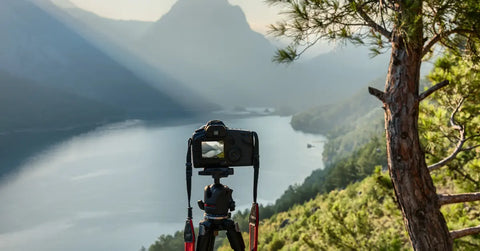
- Stable Base: First things first, make sure your tripod is on solid ground. Adjust the legs to keep it level, especially if you’re on uneven terrain like a rocky hill or sandy beach.
- Low Center of Gravity: Keep that center column as low as possible. It’s tempting to extend it for height, but doing so can make your setup wobbly, especially in windy conditions.
- Remote Shutter Release: Invest in a remote shutter release or use your camera’s timer. This way, you avoid any shake from pressing the shutter button, ensuring your landscapes are sharp and clear.
Macro Photography
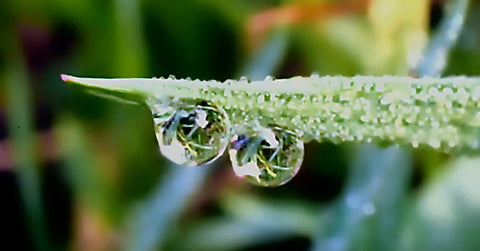
- Close to the Ground: For those intricate close-ups of flowers, insects, or tiny objects, you’ll need to get your tripod low. Look for tripods that have a reversible center column or can splay their legs wide.
- Precision: Macro photography is all about the details. Use a geared head on your tripod to make fine adjustments to your composition and focus. This precision can make a huge difference in your shots.
- Focus Stacking: To get every part of your tiny subject in sharp focus, use focus stacking. Take multiple shots at different focus points and merge them in post-processing. Your tripod will keep your camera steady throughout this process.
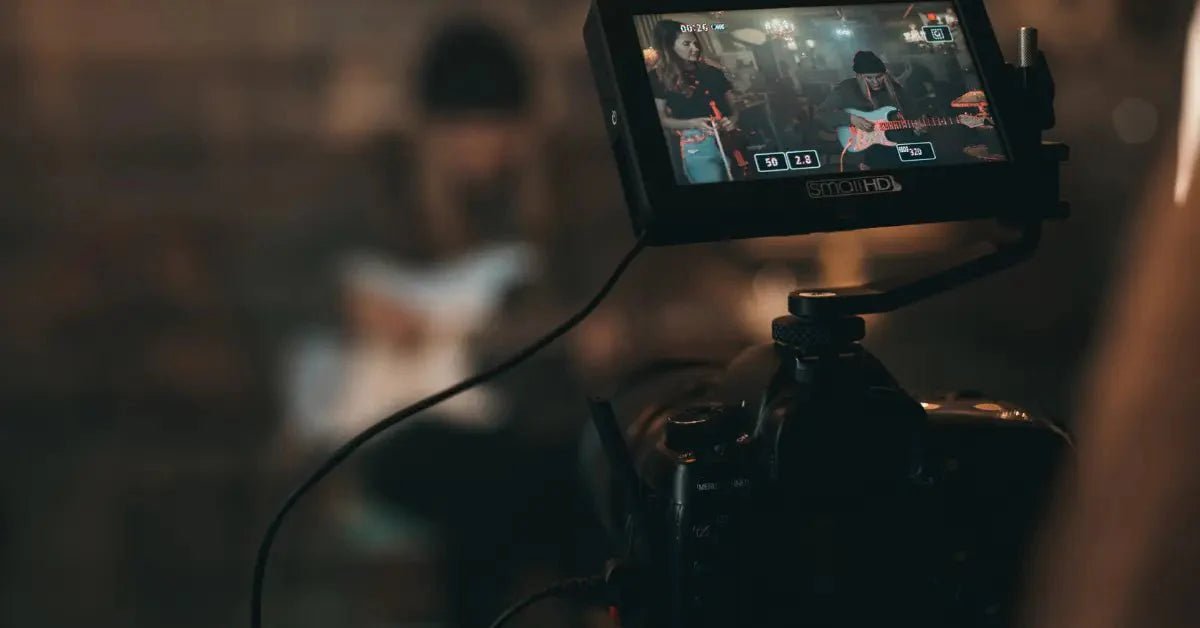
Night Photography

- Long Exposure: For those stunning night shots, a sturdy tripod is a must. You’ll be working with long exposure times, so your tripod needs to be rock solid to avoid any vibrations.
- Low Light: When shooting in low light, you’ll need longer exposure times to capture enough light. A tripod will keep your camera steady, preventing blur and letting you capture those crisp night scenes.
- Star Trails and Light Painting: If you’re into capturing star trails or doing light painting, a tripod is essential. It keeps your camera fixed in place while you work your magic with light over extended periods.
Wildlife Photography

- Portability: Wildlife photography often means being on the move, so a lightweight, portable tripod is your best bet. You’ll want something easy to carry and quick to set up.
- Stability: Ensure your tripod can handle the weight of heavier telephoto lenses. This is crucial for stability and sharp shots.
- Smooth Panning: When tracking moving animals, a tripod head with smooth panning capabilities is invaluable. It allows you to follow your subject smoothly and capture clear, dynamic shots.
Advanced Tripod Techniques
Once you've got the basics down, it's time to dive into some advanced tripod techniques that can really up your photography game. Here are some cool tips to help you make the most out of your tripod:
Panoramic Shots

Want to capture those stunning, wide landscapes? Panoramic shots are the way to go. Here's how to nail them:
- Panoramic Head: Invest in a panoramic head for your tripod. This handy tool lets you rotate your camera horizontally while keeping it level, ensuring seamless panoramic photos.
- Overlap Your Shots: When shooting your panorama, make sure each shot overlaps the previous one by about 20-30%. This makes it easier to stitch them together later in post-processing, creating a smooth, detailed panorama.
Vertical Shots
Don’t just stick to horizontal shots—tripods can be great for vertical photography too!
- Switch to Vertical: Most tripods have a feature that allows you to switch to a vertical orientation. This is perfect for portrait photography.
- Stability Check: Make sure your tripod head supports vertical adjustments without compromising stability. A shaky tripod won’t do your photos any favors.
Multi-Angle Shots

Adding variety to your shots can make a big difference. Here’s how you can use your tripod for creative angles:
- Adjust the Legs: Don’t be afraid to adjust the tripod legs individually. This can help you get the perfect angle, especially on uneven terrain.
- Get Creative: Use different angles to explore unique perspectives. Whether it’s a low-angle shot of a flower or a high-angle shot of a bustling street, experimenting with angles can yield some fantastic results.
Time-Lapse Photography

Time-lapse photography is a fun and impressive technique that shows the passage of time. Here’s how to set it up:
- Stable Setup: Find a stable location for your tripod, ensuring it won’t be disturbed during the shoot.
- Intervalometer: Use an intervalometer to automatically take a series of shots over a set period. This gadget is essential for capturing smooth time-lapse sequences.
- Keep It Steady: Make sure the tripod remains completely still throughout the entire duration of the time-lapse. Any movement can ruin the effect.
By mastering these advanced techniques, you'll be able to use your tripod to its full potential, capturing shots that are not only technically sound but also creatively inspiring. So, go ahead, experiment, and have fun with your photography!
Maintaining Your Tripod

To keep your tripod in tip-top shape and ensure it lasts for years, regular maintenance is a must. Here's a breakdown of how to take care of your trusty tripod:
Cleaning
Keep it Clean:
After every shoot, especially if you've been out in sandy, dusty, or wet conditions, give your tripod a good wipe down. Use a soft brush or cloth to get rid of dirt and debris that can build up in the legs and joints. This helps keep everything moving smoothly and prevents grit from causing wear and tear.
Attention to Detail:
Pay special attention to the joints and moving parts, as these areas are prone to collecting the most gunk. A little effort goes a long way in maintaining the smooth operation of your tripod.
Lubrication
Smooth Operator:
Every once in a while, apply a small amount of lubricant to the moving parts of your tripod. This keeps them functioning smoothly and makes adjustments easier. But be careful not to overdo it; too much lubricant can attract more dirt, which can do more harm than good.
Choose Wisely:
Use a lubricant that's suitable for your tripod material. Silicone-based lubricants are generally a safe bet, but check your tripod's manual or manufacturer's recommendations to be sure.
Inspection
Check it Out:
Regularly inspect your tripod for any signs of wear and tear. Look over the leg locks, screws, and quick-release plate to make sure everything is secure and in good condition. If you spot any loose parts or damage, address it right away to avoid bigger issues down the line.
Safety First:
A quick inspection before each shoot can save you from potential mishaps. Make it a habit to ensure your tripod is always ready to perform its best.
Storage
Store Smart:
When you're not using your tripod, store it in a dry, cool place. This helps prevent rust and corrosion, especially if you've been shooting in humid or wet environments. A good tripod bag can offer extra protection during transport and keep your gear safe from bumps and scratches.
Avoid Extremes:
Try to avoid leaving your tripod in extreme temperatures or direct sunlight for extended periods. Both can cause damage to the materials and reduce the lifespan of your tripod.
By following these simple steps, you'll keep your tripod in great condition, ensuring it continues to support your photography adventures for years to come. Happy shooting!
Conclusion
Using a tripod effectively can significantly enhance the quality of your photography, providing stability and precision for a wide range of shooting scenarios. By choosing the right tripod, setting it up correctly, and mastering advanced techniques, you can capture stunning, professional-quality images every time.
Remember, practice makes perfect. Spend time experimenting with your tripod, exploring different angles and settings to find what works best for your style of photography. With these tips and techniques, you’ll be well on your way to becoming a tripod master.
So, grab your tripod, get out there, and start shooting! Your journey to sharper, more professional photos begins now.
If you found this guide helpful, share it with your fellow photographers and let us know your favorite tripod techniques in the comments below. Don’t forget to check out our other photography tips and tutorials to continue improving your skills!
Visit Nuzira and join our Discord channel to learn more about tripods!